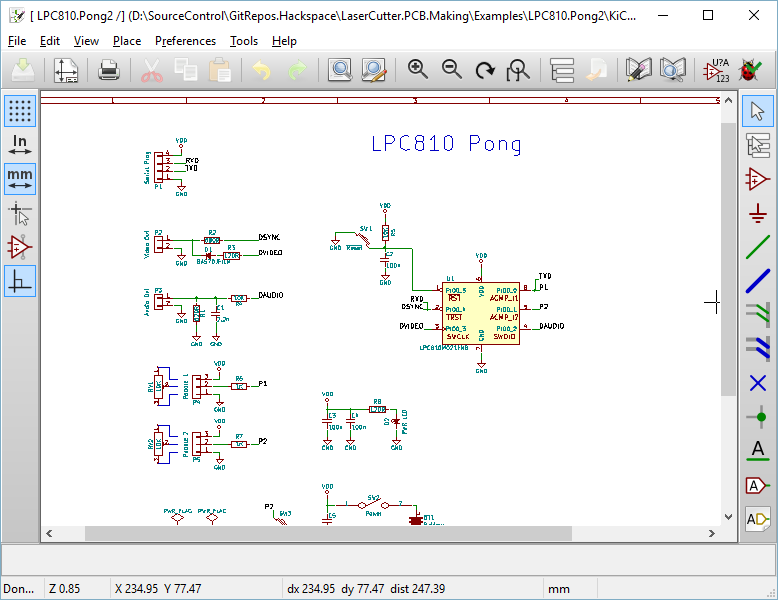
KiCad - Schematic to PCB
For this doc I’m going to go over the steps needed to convert a KiCad schematic to an initial PCB Board
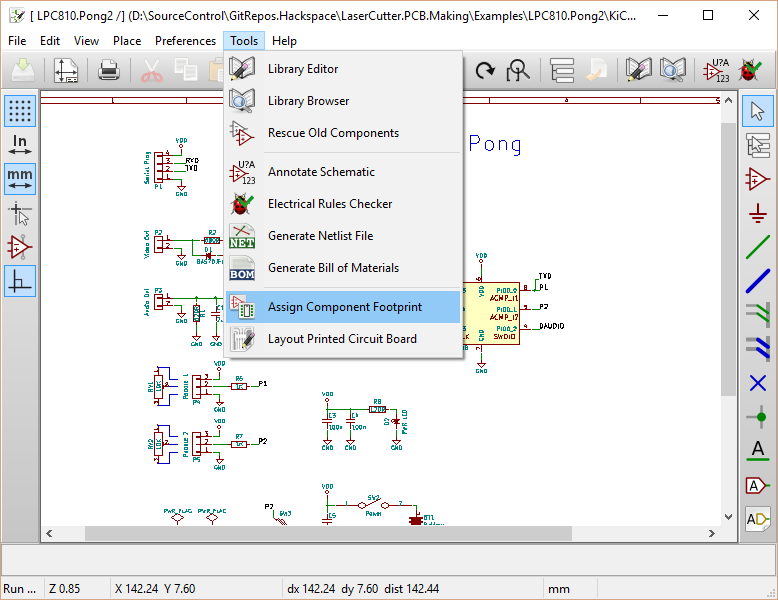
Assigning Footprints
First we’re going to want to assign footprints to each of the components within the schematic. The newer latest version of KiCad makes this a lot easier than the old version. We have now have a way of doing this without having to jump into the PCB Editor first.
First select Assign Component Footprints from the Tools menu
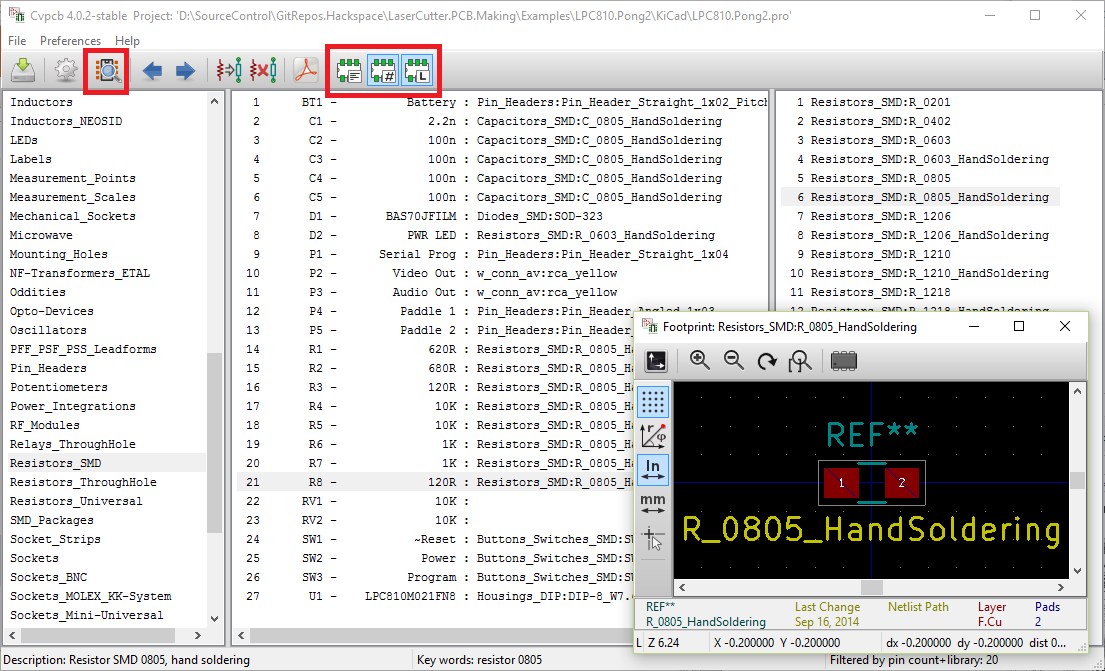
Unlike eagle within KiCad footprints and schematic parts are considered completely seperate entities. In the past this used to cause problems with linking one to the other, but there are now a few features we can use in this window to filter things down.
- Filter by Pin count
- Filter by Library
- Filter by Keywords
The filter by pin count does what it says on the tin, if the schematic part only has 2 pins then the pcb footprints available shown will also only have 2 pins.
The filter by Library allows you to only see footprints from the library picked on the far left hand side of the form.
The filter by keywords is probably the closest thing to a linkage between schematic parts and pcb footprints within KiCad. When creating a schematic part it’s possible to list a series of keywords, and the same can be true with PCB footprints. If the selected schematic part has a keyword listed in the list of available footprints then it will show up in the result list on the right hand side.
The preview footprint button is also very usefull to see what the footprint looks like during the picking process
Generating the NetList
Next we need to generate a netlist file. A netlist file is just a list of the schematic parts / pcb footprints and how everything is wired together. We use this within pcbnew as the initial input when creating the PCB
Click on the Generate Netlist button within the schematic editor
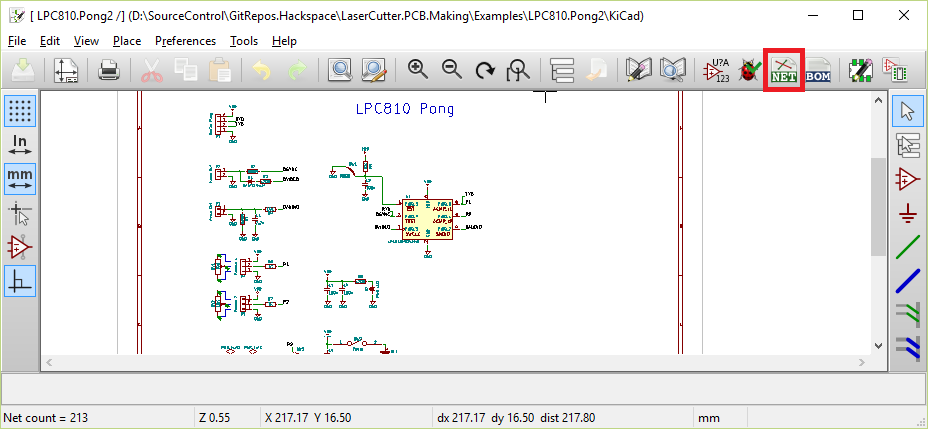
The end result will be a file called <ProjectName>.net outputed within the Project Directory
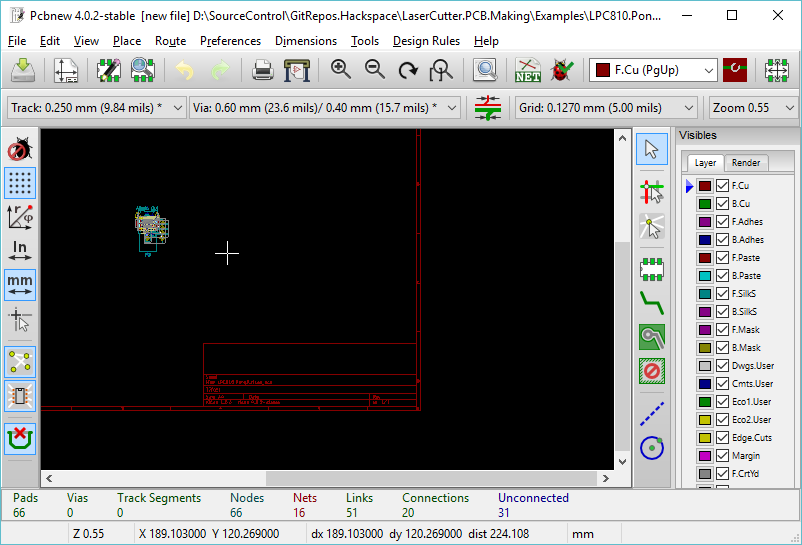
Opening the PCB
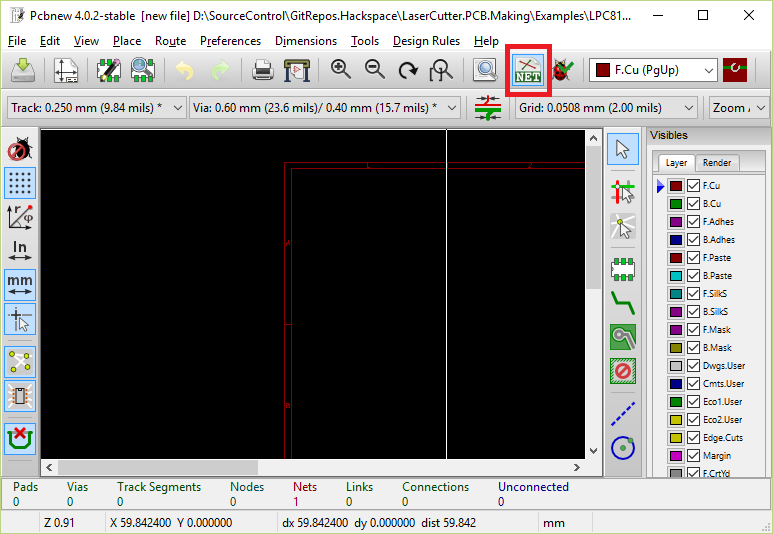
Next we’re going to read in the netlist file into the PCB Editor pcbnew
Open up pcbnew and click the Read NetList button
Click Read Current Netlist and check the bottom for any errors when the file is read in
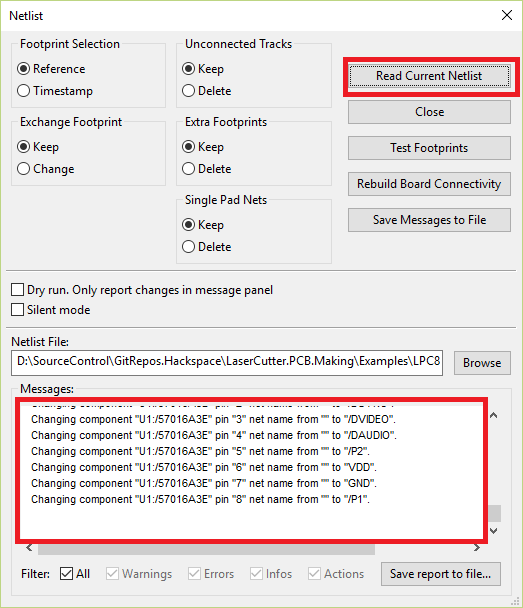
The end result will be a bunch of components all grouped together in the center of the board