Milling Material
Clamping Holes
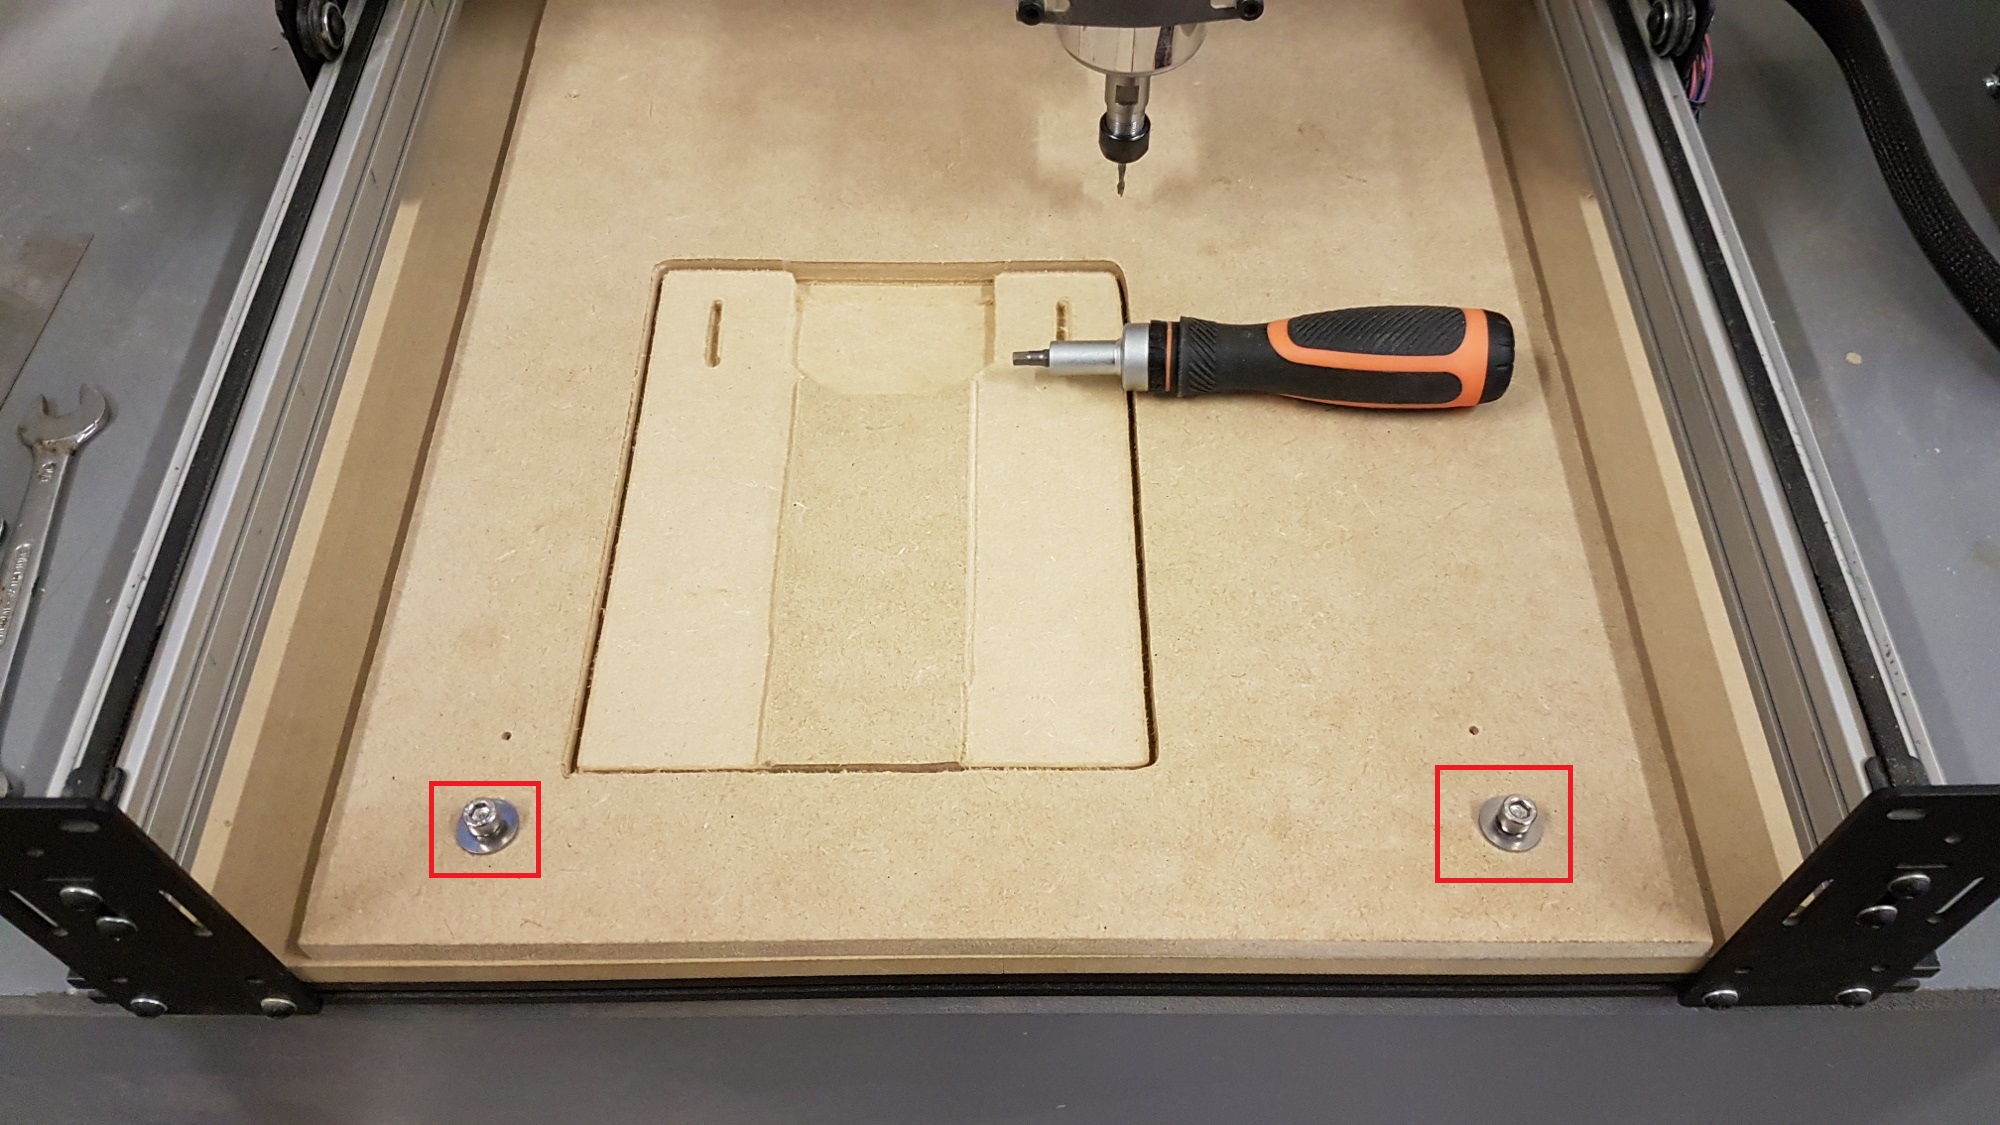
The CNC has a spoiler board located on its base. Generally, you try to avoid milling into the spoiler but it can be replaced. It has several inserts in the bottom for securing additional material on top using a series of M6 bolts
Some of the holes should line up with the holes on the small drill press vice
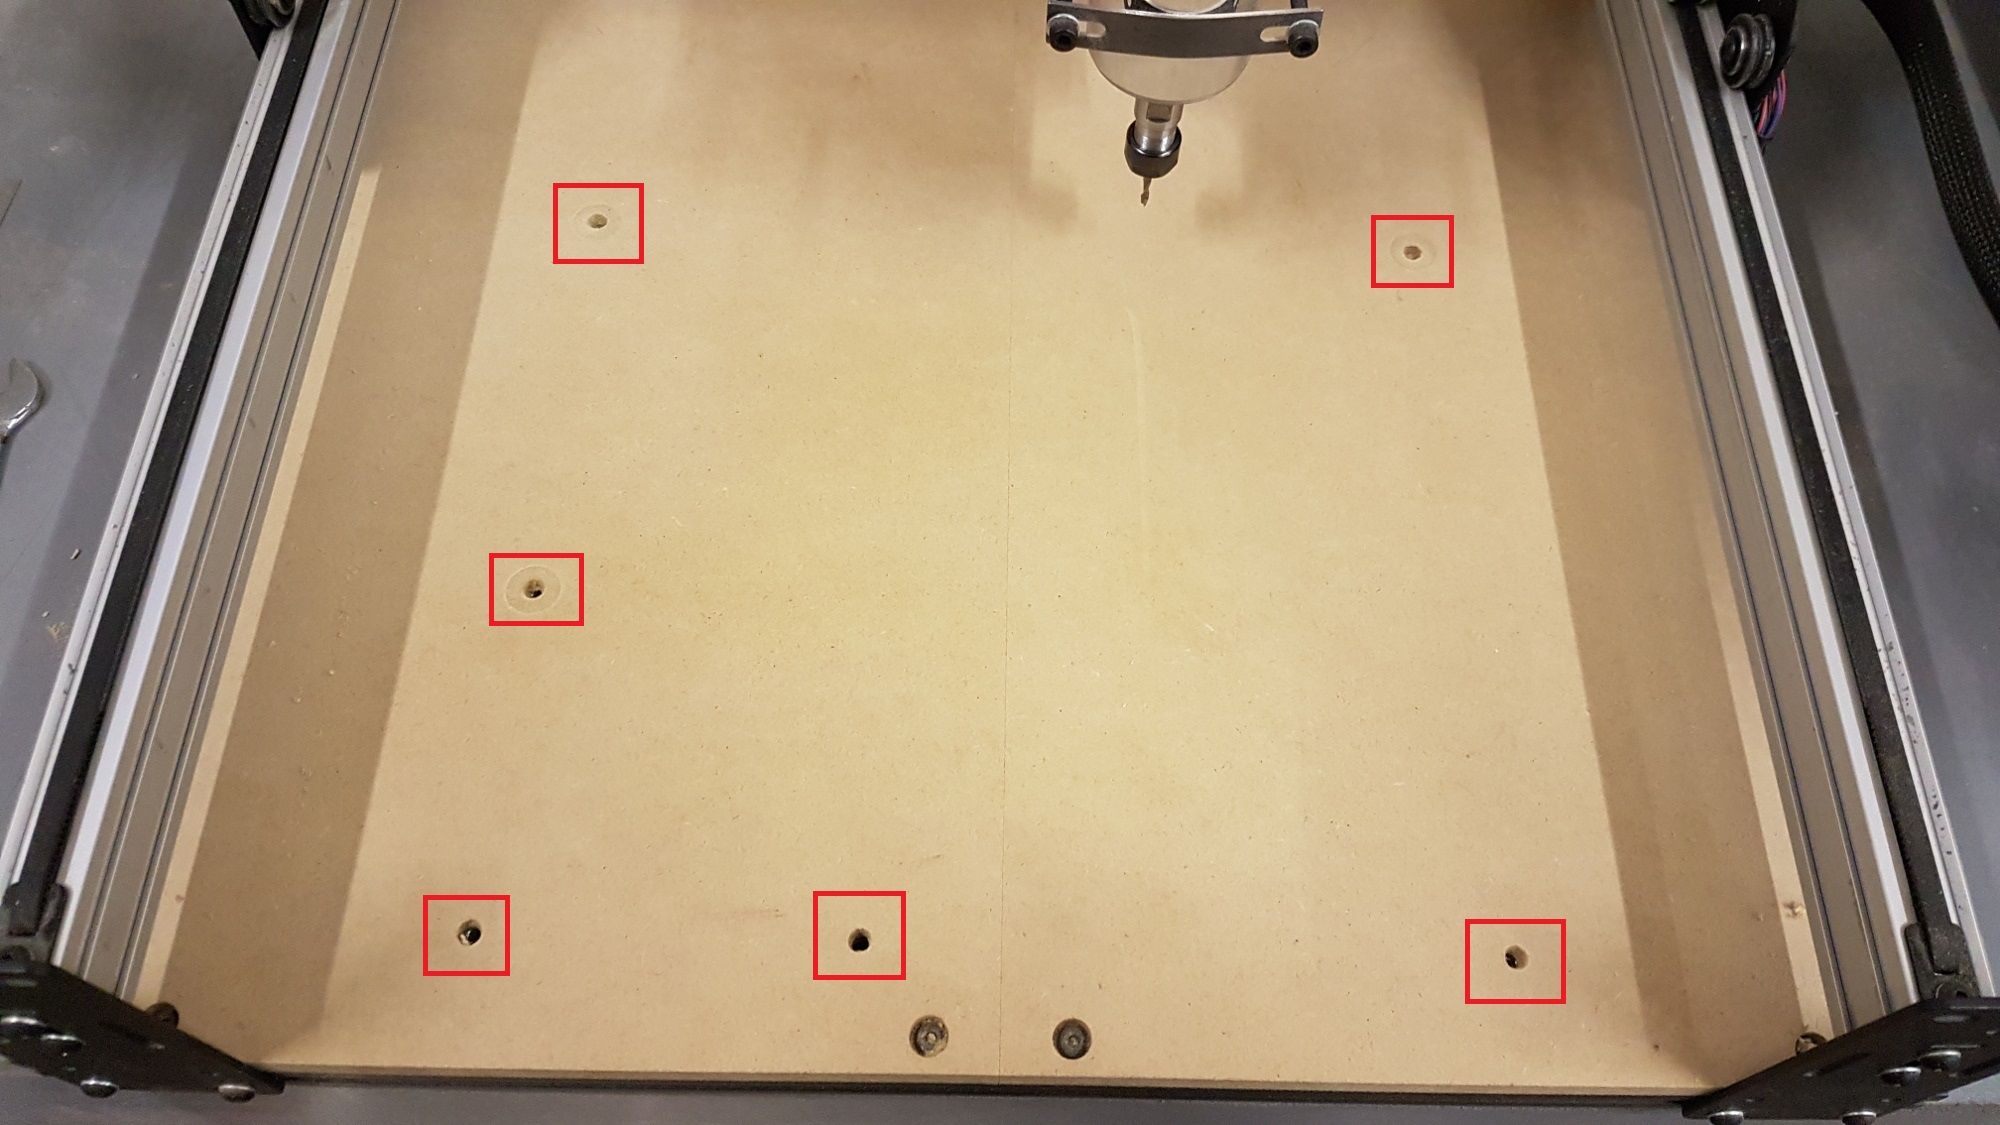
Position of Clamping Holes
In order to drill the positioning holes for the material being milled (that sits on top of the spoiler board) First line the head up with the bottom left hole.
The first bottom left hole should be at a position of 30mm Up, 0mm Right. But I’ve found that trying to using the bottom left corner of the machine is unreliable and that it’s better to align with the first hole instead.
The following are offset positions from the first hole
Plate fixing points
| Y (back to front) | X (left to right) |
|---|---|
| 0 mm | 0 mm |
| 0 mm | 300 mm |
| 260 mm | 0 mm |
| 260 mm | 300 mm |
Drill mount holes
| Y (back to front) | X (left to right) |
|---|---|
| 0 mm | 0 mm |
| 0 mm | 110 mm |
| 110 mm | 0 mm |
TODO add additional hole on the rights to avoid belt holder conflict
MDF
So far I’ve used MDF 12mm thick cut into sections using the table saw. However, it’s advisable to limit the depth of a pass to about 2mm or so at one time, to avoid overloading the stepper motors on the device (milling too much out at one time)
Metal
Since the Shapeoko 2 only has Nema 17 motors, I’ve found that it manages mdf okay but I’m not sure if it can manage metal such as aluminium. With metal you have to mill at the right speed, too slow and the metal sticks to the mill bit
For this you’ll need to use a speeds and feeds calculator.