Milling
All of the controls associated with the actual milling are located on the left hand side.
The emergency / immediate stop is also located on the right hand side
Zero the Machine
One of the first steps is to get the head of the machine in the right place. It all depends on where you’ve put the origin when using the CAM software, but generally placing the head at the lower left corner of where you will be milling is the best bet. Also you need to ether jog or manually adjust the Z Height so that the mill bit is just touching the surface of the material to be milled.
One trick to figuring out when the mill bit is just touching the surface, is to turn on the spindle then jog the head down slowly 0.1 mm at a time untill you hear the noise of the material being grinded.
Another idea before you start milling is to make a note of the absolute cordinates of the starting point of the machine if you need to start over.
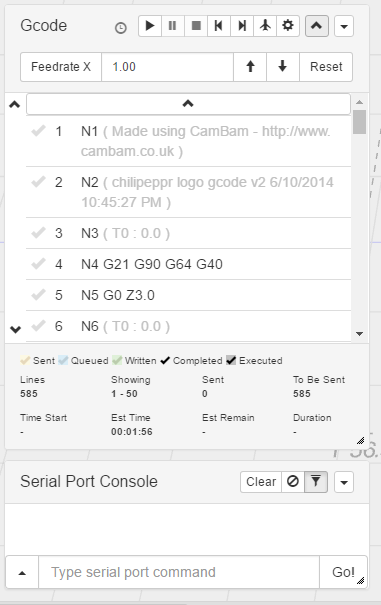
Set the Feed Rate Multiplier
Assuming you’ve already loaded in the G-Code into Chillipepr (drag and drop the file onto the browser window)
The most important setting is the Feed Rate

If you’ve already set the feedrate within the CAM software
(used to create the G-Code) then you can just leave this at 1.00
This value is a multiplier so 0.5 = half speed.
A speed which is too fast is really bad, as it can lead to:
- The milling bit becoming too stressed / breaking / bending
- The machine skipping steps leading to all sorts of problems with mis-alignments
If you’ve used hsmworks for example and left the feedrate at the default speed, then it will be about 10 x too fast for the mill.
In that case 0.1 is a safe value.
That being said it’s generally better to make sure the feedrate is set correctly within the CAM software and to use a 1.0 value here if you can. The reason being is that the motion will be generally less jerky overall due to grbl not having to compensate.
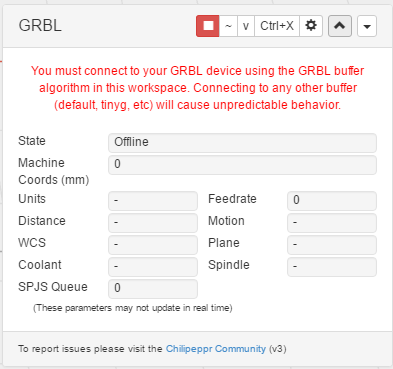
Switching on the Spindle
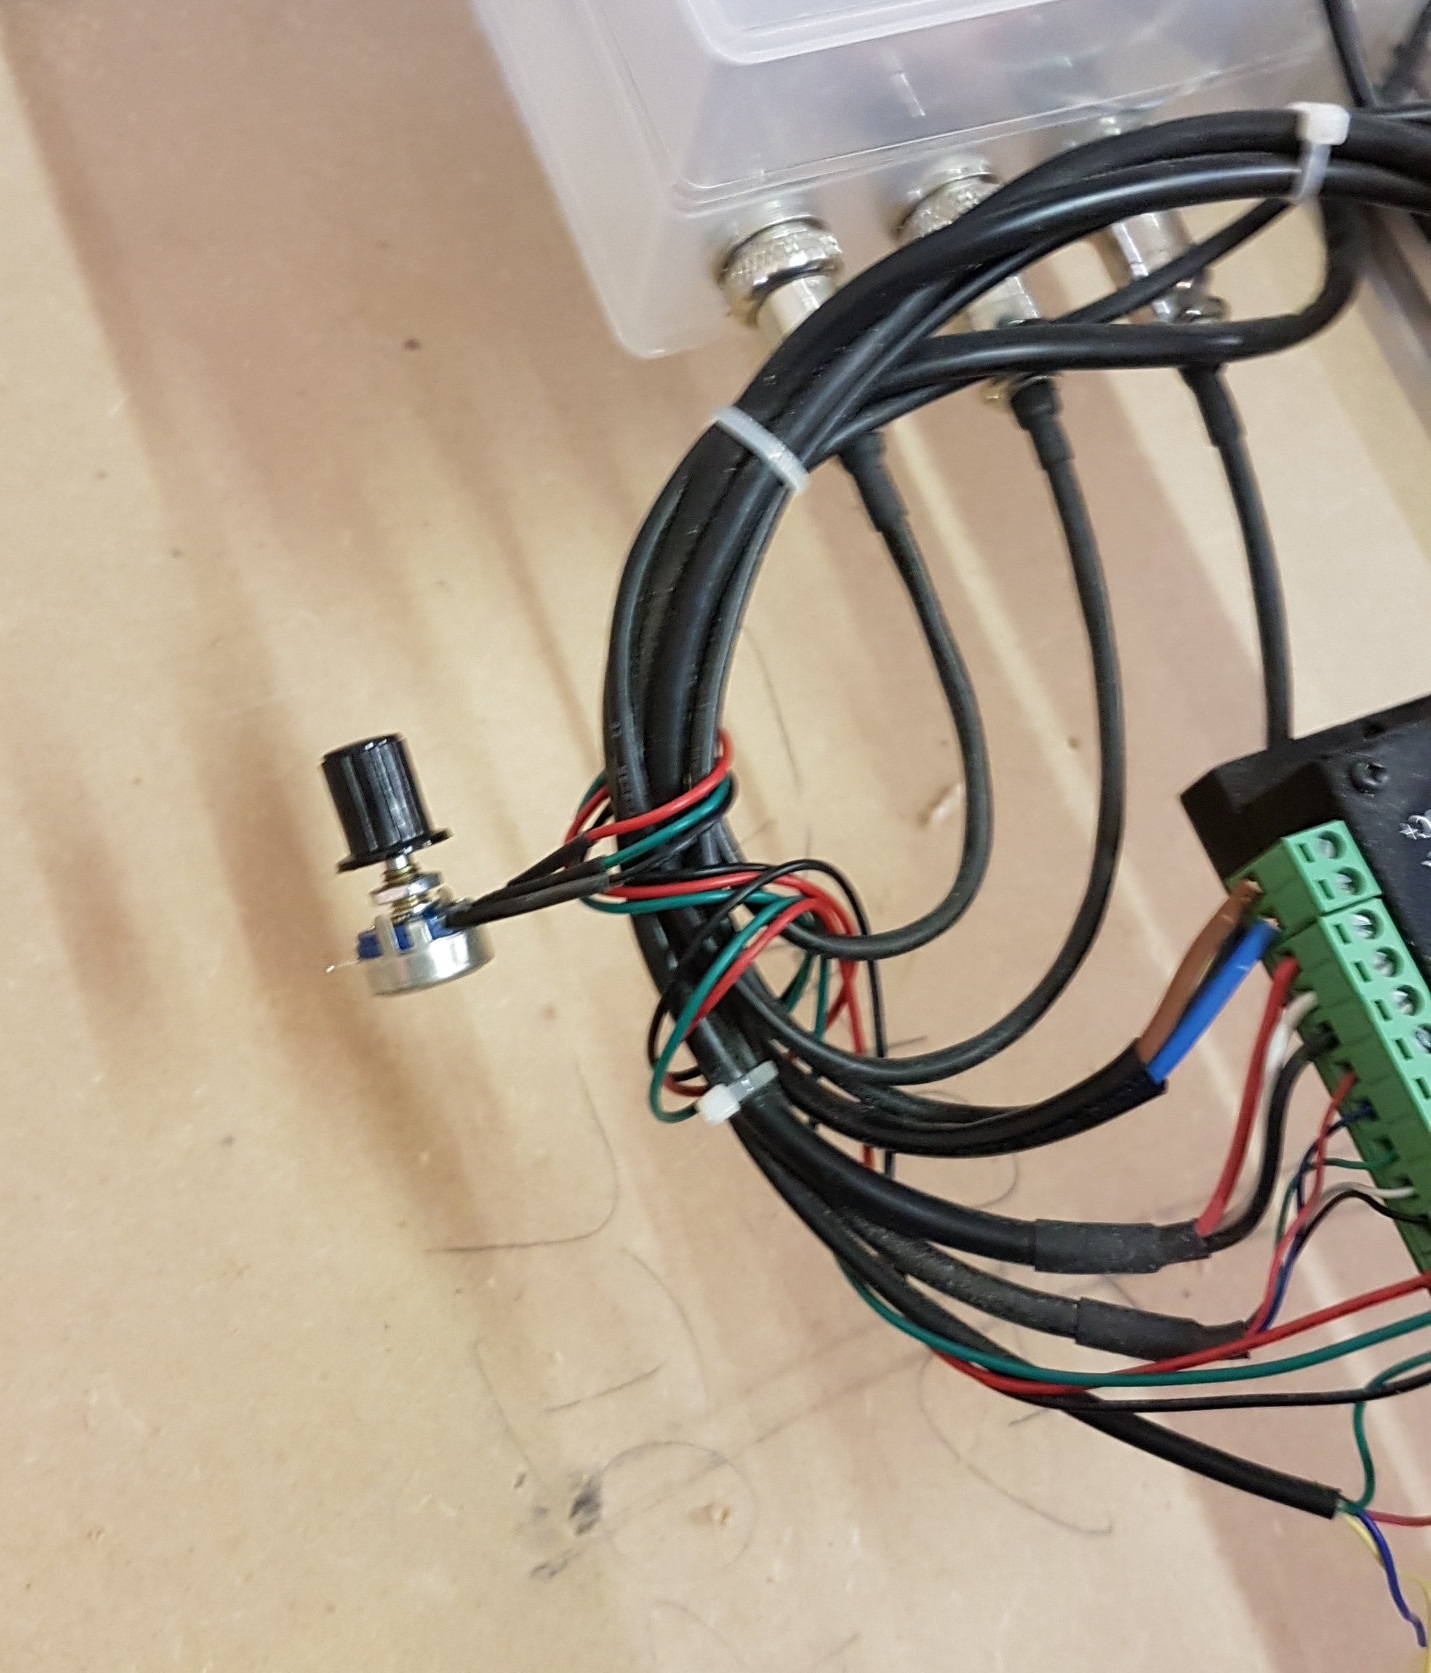
In order to get the spindle to operate, there’s a small adjustable pot on the back of the machine to adjust the speed of the spindle.
In one direction it’s off, the other it’s full speed on.
The spindle will only operate if the main power switch is switched on (which also powers the steppers)
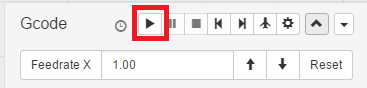
Start the G-Code
To start running the G-Code use the play button, make sure the spindle is running before you do this.
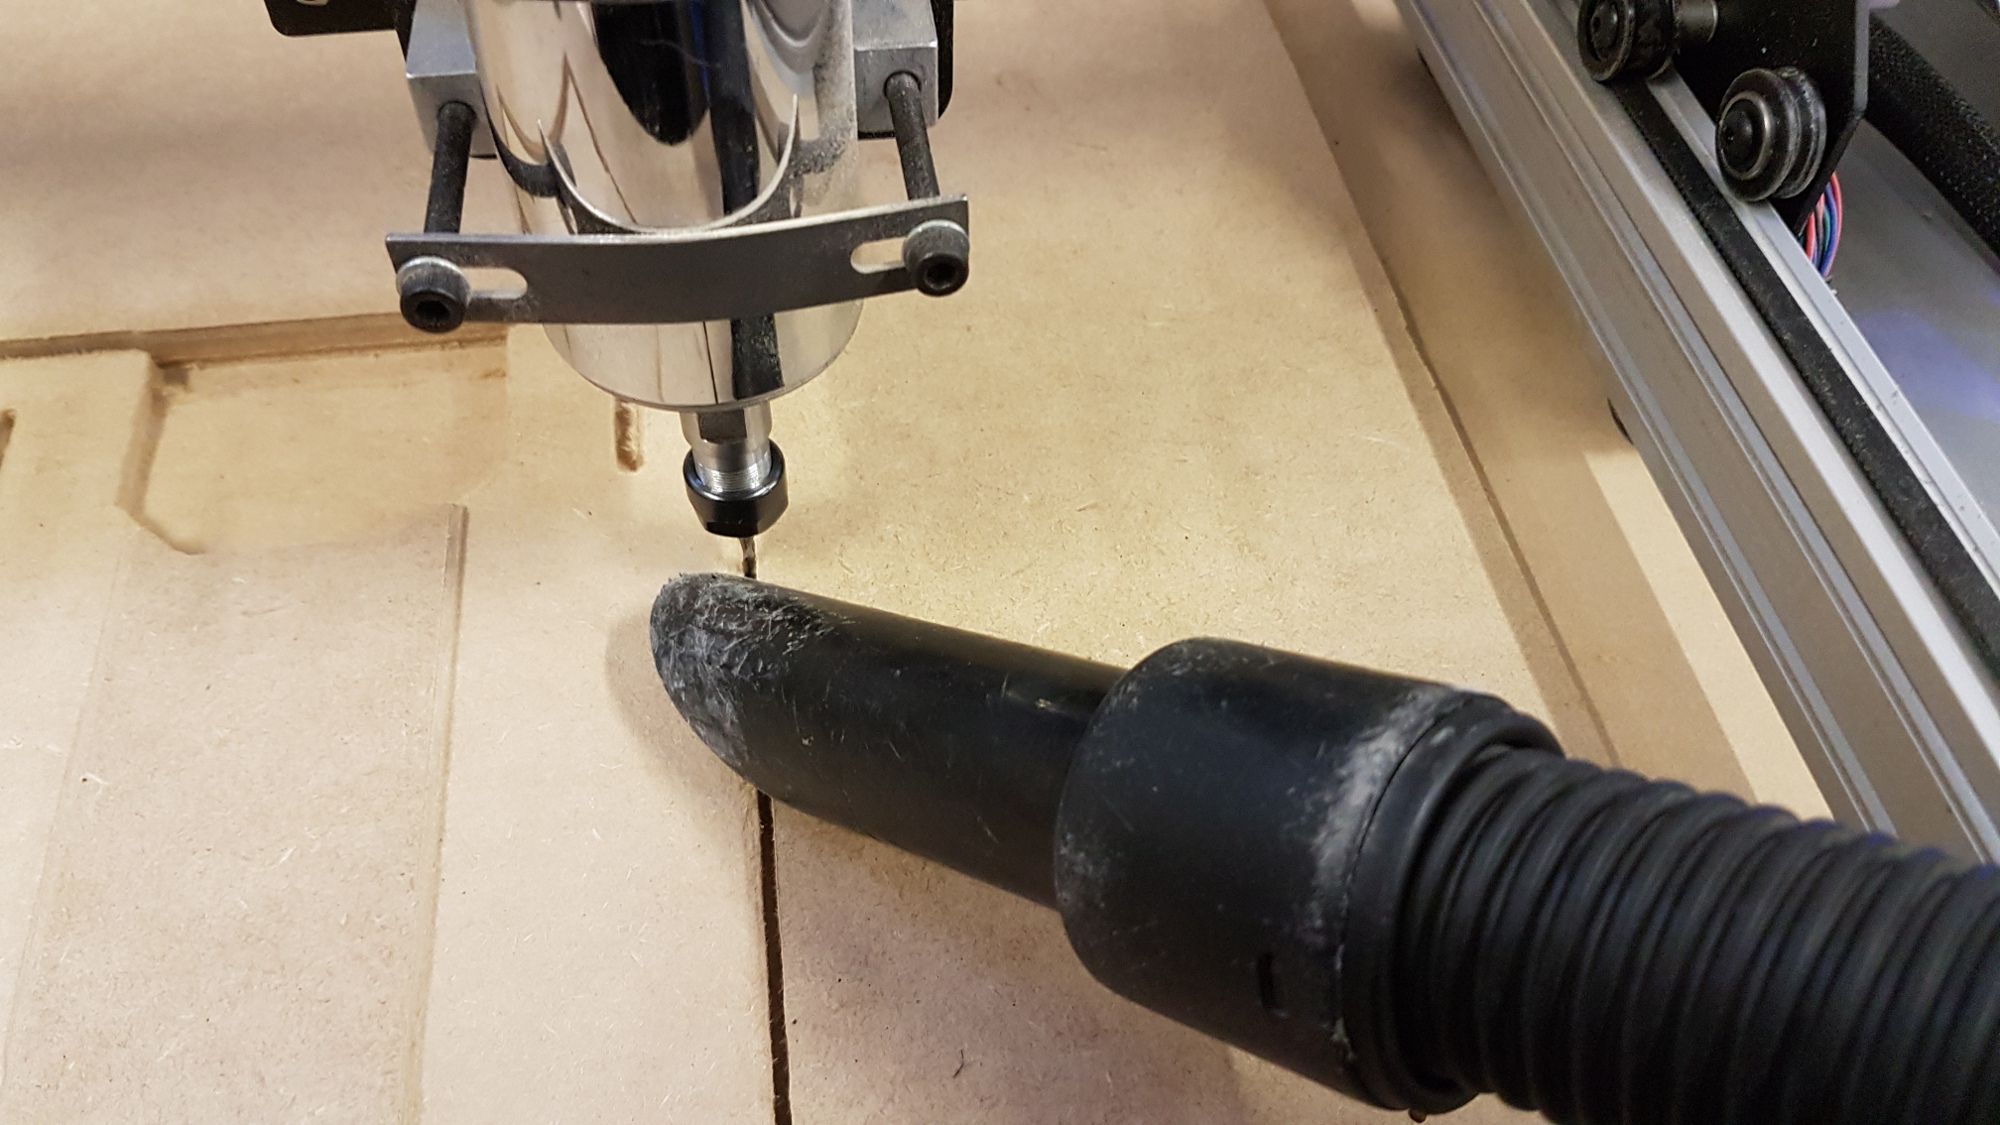
Using the Vacuum Cleaner
While cutting there is a white hoover / extractor we can use to suck up the mdf dust / particles that’s milled to better see what’s going on.
Using a different starting point (Optional)
One of the tricks Chillipepr allows us to do is to start from a line further down in the G-Code. If you click on one of the lines of the G-Code in the list
- This gives you an indication of where the CNC will be from an absolute position
- This allows you to set this as a new starting point when playing the G-Code
- We can get the head to move to this position / skip the G-Code above

Stopping Milling
There’s a couple of different ways to stop the milling
Red Switch / Emergency Stop
If you’re really in a rush because something has horribly gone wrong, just mash the EStop button / or red power off button.
Stopping the Queue
The controls on the left do have a stop button. However, this only stops further messages being queued into the grbl firmware. If you use this the CNC will probably still continue on for a while longer while it gets to the end of its buffer stream
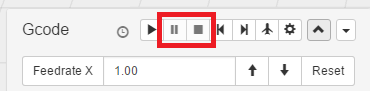
Immediate Stop
If you want to try and stop the machine immediately within Chillipepr then there’s a 2nd stop button on the right hand side. These buttons send special commands to grbl to stop the G-Code right away (without waiting for the buffer to flush / complete). There’s also a resume button next to it as well

The Ctrl-X button will also perform a soft reset of the Grbl board.
But make sure to re-home when using that.